image credit :wpbeginner How to Add a Favicon to Your WordPress Blog Why Should You Add a Favicon to Your WordPress Blog? A favicon is ess...

image credit :wpbeginner
How to Add a Favicon to Your WordPress Blog
Why Should You Add a Favicon to Your WordPress Blog?
A favicon is essential to add to your WordPress blog because it helps users identify your website quickly and strengthen your brand identity. From that small icon, site visitors can easily recognize your blog.
Another purpose of a WordPress favicon is to improve user experience. When multiple tabs are open, users can look at the favicons to know which website they are on and switch to the one they want.
If users add a shortcut icon or bookmark to your blog on their mobile devices, then the favicon will appear as an app icon on their home screen. This makes it easy for them to access your website with just a simple tap.
How to Create a Favicon for Your WordPress Blog
First, let’s learn how to create a good favicon for your blog.
The ideal WordPress favicon size is a square image of up to 512 pixels in both width and height. The favicon image format can be ICO, JPEG, PNG, or GIF.
If you run a business blog, then you can use your brand logo as your favicon icon.
If you have a logo ready but want to make the background transparent, then you can use a free image editing tool with an automatic background remover. Make sure the file is saved in PNG to keep the transparency in the favicon.
Another option you can use is a free favicon generator like Favicon.io. This tool lets you customize a favicon from scratch and download the files in PNG and ICO format.
That being said, let’s look at how to easily add a favicon to your WordPress blog. We will cover 4 methods, and you can click the links below to skip to the method you want to use:
- Method 1: Adding a Favicon Using the WordPress Customizer
- Method 2: Adding a Favicon Using the WordPress Full Site Editor
- Method 3: Adding a Favicon Using a WordPress Favicon Plugin
- Method 4: Adding a Favicon Manually to Your WordPress Blog
Method 1: Adding a Favicon Using the WordPress Customizer
This is the easiest method to change a favicon in WordPress. All you need to do is upload your favicon image to the WordPress Customizer, and the rest will be taken care of for you.
The first step is to access the WordPress Customizer. If you use a classic theme, then you can navigate to Appearance » Customize to do this.
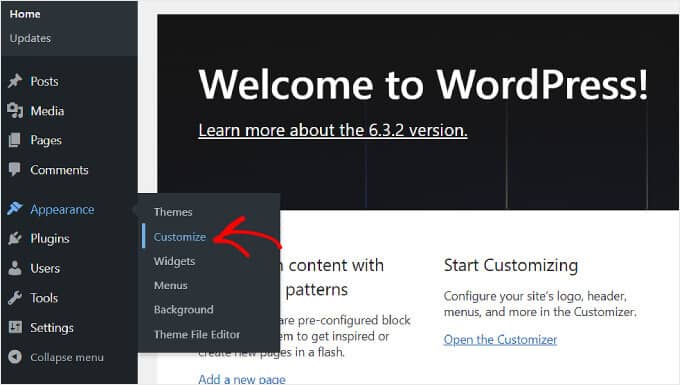
Next, click on the ‘Site Identity’ tab in the left sidebar.
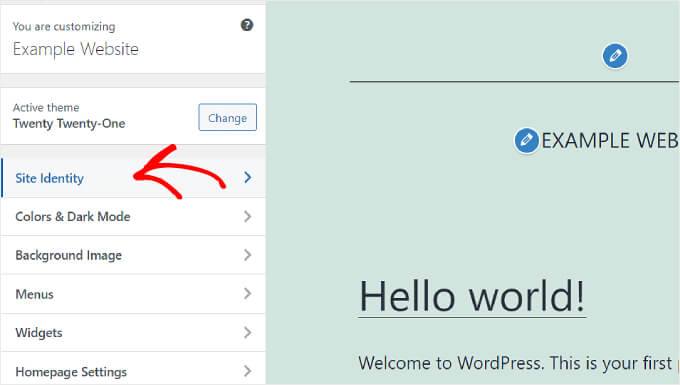
Here, you will see options to customize your Site Logo, Site Title, Tagline, and Site Icon.
If you want to add a site’s favicon, then you will need to scroll down to the ‘Site Icon’ section and click ‘Select site icon’.
The WordPress Media Library will now appear. You can either select an existing image or upload a new custom favicon from your computer.
In this example, we will use WPBeginner’s logo as the WordPress site icon.
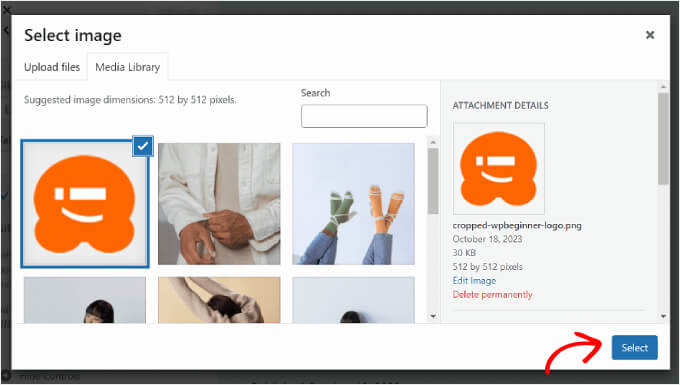
After choosing an image, click the ‘Select’ button in the bottom right corner of the window.
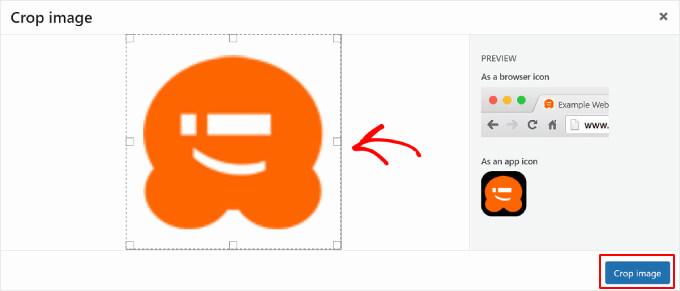
If the favicon is bigger than the recommended size, then WordPress will allow you to crop it. If it matches the recommended size exactly, then you can just leave it as it is.
Once the image looks good, just click ‘Crop image’.
After that, you will be returned to the WordPress Customizer. Here, all you need to do is click the ‘Publish’ button in the left sidebar to finish your favicon setup.
That’s it! Now that you’ve uploaded your favicon, you can visit your WordPress website to see if the image is already live.
Method 2: Adding a Favicon Using the WordPress Full Site Editor
If you are using a block theme and want to add your brand logo as both a part of your website header and a site icon, then this method is for you.
For this, you need to go to Appearance » Editor from the WordPress admin panel.
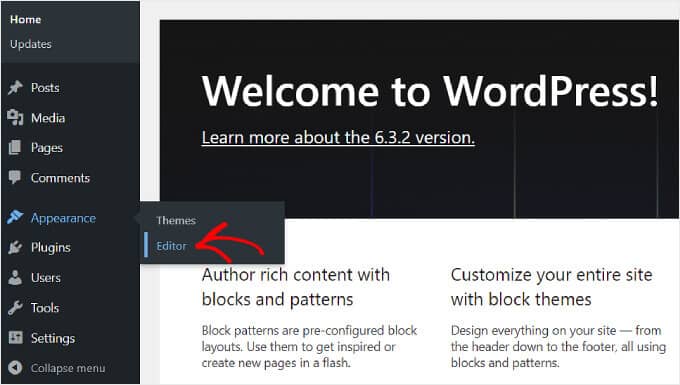
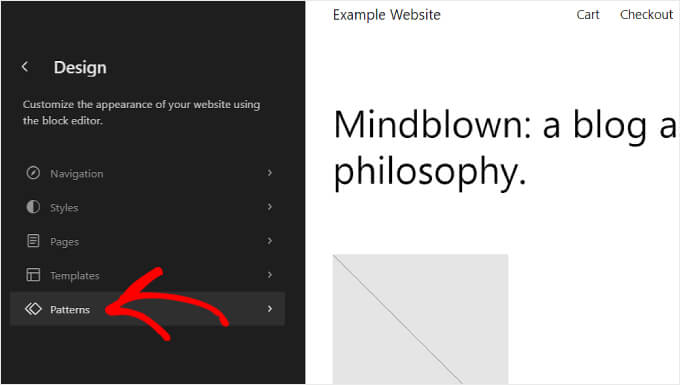
On this page, you will find several menus to customize your website, including Navigation and Styles.
For this tutorial, you will need to click on ‘Patterns’ to access your website header block pattern.
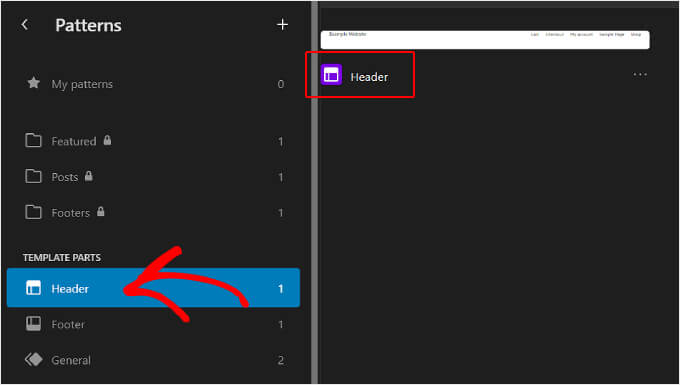
Upon scrolling down, you will see several template parts: Header, Footer, and General.
Just click on the ‘Header’ template to add your favicon there.
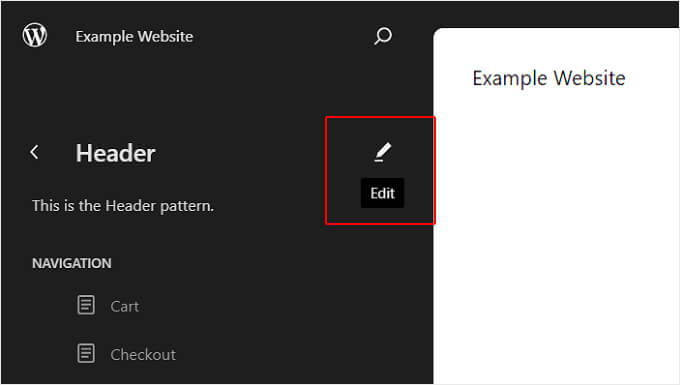
Next, you will see a pencil button next to the Header text.
Click on it so that you can edit the pattern and insert your WordPress favicon.
You are now inside the WordPress full site editing experience.
Now, click the add block ‘+’ button and search for the Site Logo block. This is where you will add the image that will become your WordPress favicon.
Feel free to drag and drop the block to where you want it in your header. In this example, we’ve placed it next to the website title.
The next thing you will do is click the upload icon in the Site Logo block.
As with the previous method, you can choose an existing image or upload a new one from the WordPress Media Library.
After that, you need to navigate to the Block settings sidebar on the right side of the page. Just turn on the ‘Use as site icon’ setting to add the logo as a favicon.
Finally, you can hit the ‘Save’ button in the top right corner of the page to publish your favicon.
You will see a warning that the change will affect the entire website. Make sure the ‘Icon’ box is ticked, and click ‘Save’ again.
Now that you’ve gone through all the steps, you can open your website to confirm that the change was successful.
Method 3: Adding a Favicon Using a WordPress Favicon Plugin
If you prefer using a WordPress favicon plugin, then you can follow this method to use the free Favicon by RealFaviconGenerator plugin.
First, you need to install and activate the plugin.
Once activated, go to Appearance » Favicon in your WordPress dashboard.
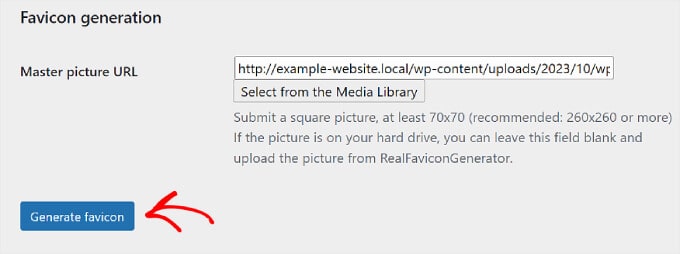
After that, click the ‘Select from the Media Library’ button to upload a new image or use an existing one.

Note that you will need to use a square picture. The plugin recommends making the site icon size at least 260 pixels in both width and height but no smaller than 70 pixels.
Once you’ve chosen an image, simply hit the ‘Generate favicon’ button.
After this, the plugin will lead you to the RealFaviconGenerator website to edit the favicon.
You can customize various settings, like the background color and how it looks on Google search results pages (SERPs), iOS, Android, macOS Safari, Chrome, and Windows Metro.

In the ‘Favicon Generator Options’ section, you can check the box if your website was using a favicon before. If yes, simply enter a number in the second field to indicate the favicon version you are using.
This way, users who have visited your site before will see the new favicon instead of the old one.
Once everything looks good, all you need to do is click the ‘Generate your Favicons and HTML code’ button to add the favicon to your WordPress site.

Your favicon should now be live. Make sure to keep the WordPress favicon plugin active so that the favicon is always enabled.
Method 4: Adding a Favicon Manually to Your WordPress Blog
Last but not least, you can add a WordPress favicon to your blog by manually editing your theme’s code files.
This is helpful if your Theme Customizer doesn’t have the ‘Site Identity’ section or if you use a block theme and want a different favicon image from your site logo.
The easiest and safest way to edit your theme’s code files is with the WPCode plugin.
WPCode is the best code snippets plugin for beginners. With over 100 ready-made snippets and secure error handling, it allows you to safely edit your theme files without breaking your website.
Plus, the great thing about WPCode is that if you update your theme, then you won’t lose your code modifications, including your favicon.
For this guide, you can use the free version of WPCode. However, with the Pro subscription, you get access to features like smart conditional logic and third-party integrations to manage your code more efficiently.
To start, you need to install and activate WPCode. For more information, you can see our step-by-step guide on how to install a WordPress plugin.
The next thing you need to do is prepare your favicon files. For this, you can use a free favicon generator like Favicon.io.
On the website, you can click ‘Image’ to convert an image file into a zip file and HTML code. Alternatively, you can use the Emoji or Text option to create a favicon using the emojis and fonts available.


COMMENTS